
ZFS supports snapshots and encryption, both useful features in business enviroments. Furthermore, RaidZ (a software RAID solution) offers data protection without many issues and limitations of traditional RAID setups.
FreeNAS supports all the most adopted file sharing protocols like Apple’s AFP, NFS, CIFS / SMB and iSCSI.
In this tutorial we’ll show you how to install FreeNAS to build your own – totally customizable – NAS.
Note: for simplicity’s sake we created a virtual machine with 4 virtual disks to simulate a common NAS setup.
Download FreeNAS from the official site and burn it on a CD/DVD (or use a virtual drive like we did).
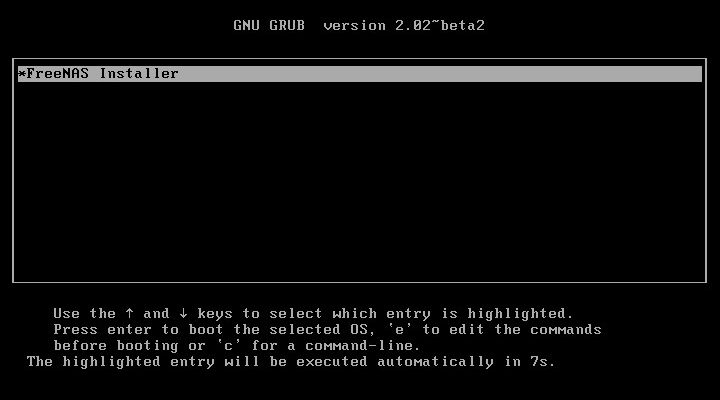
Boot the machine with the CD/DVD:
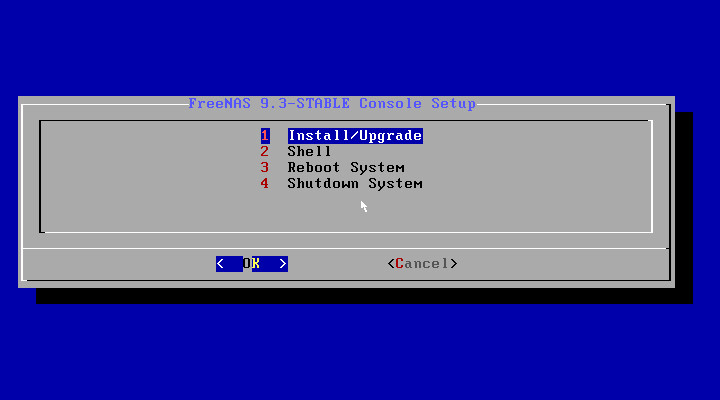
Select Install/Upgrade:
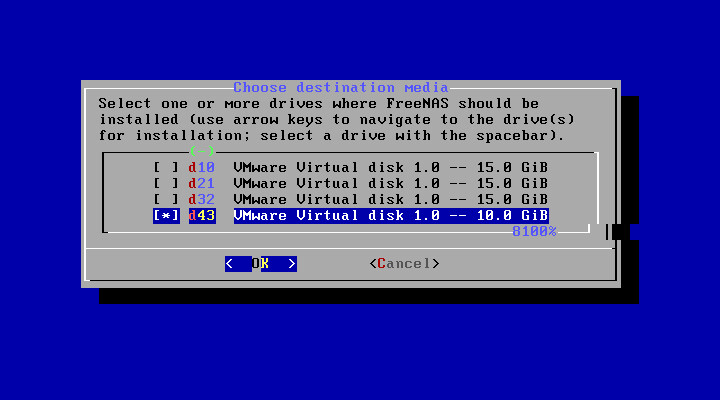
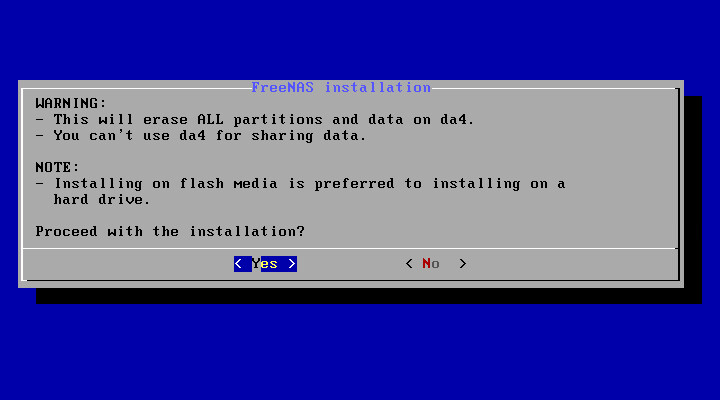
Select the drive where the OS will be installed (not sharable volume). We suggest to use a flash drive (8GB will be enough) but you can use a HD too:
Press Yes:
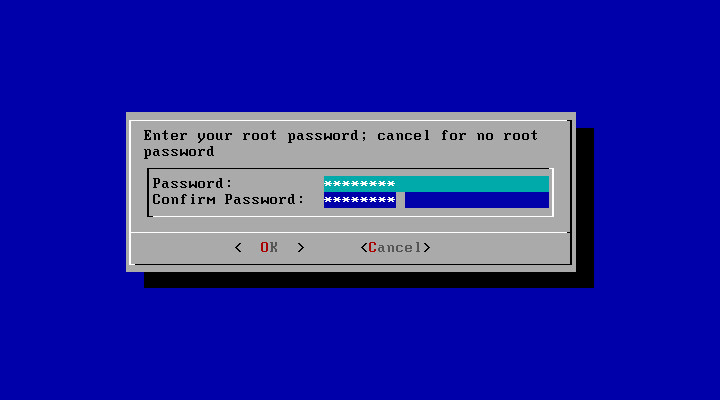
Specify a root password:
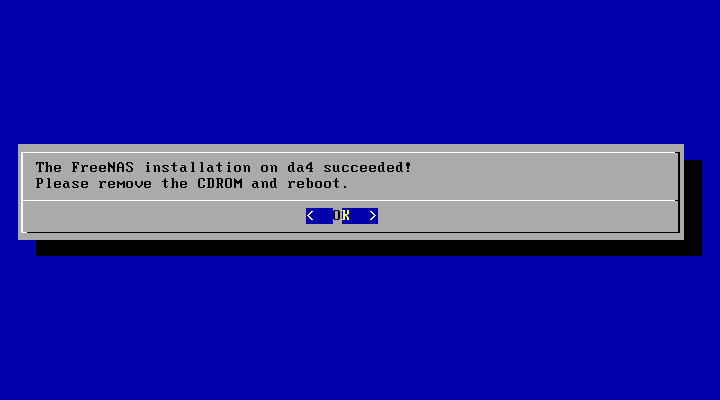
The installation is quite fast, you can eject the CD/DVD and reboot:
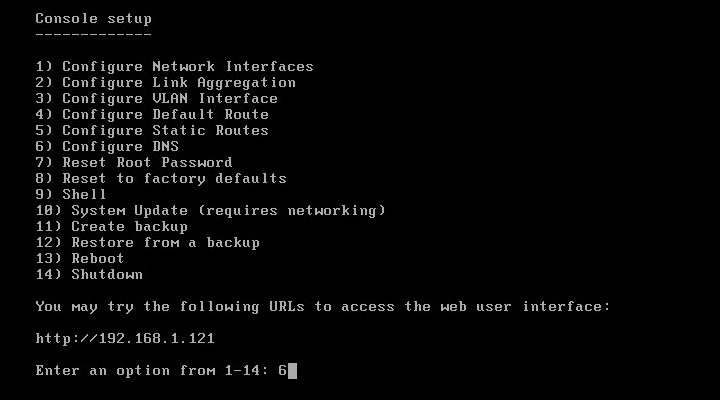
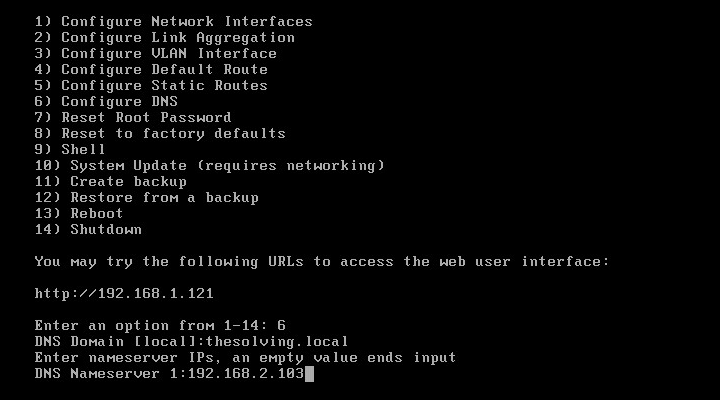
Now FreeNAS is up and running. The shell informs us of the assigned IP. In our lab network we have an Active Directory Domain Services so we want to configure the domain controller as the DNS server. To do so we must select option 6:
Specify the DNS domain and the nameserver IP:
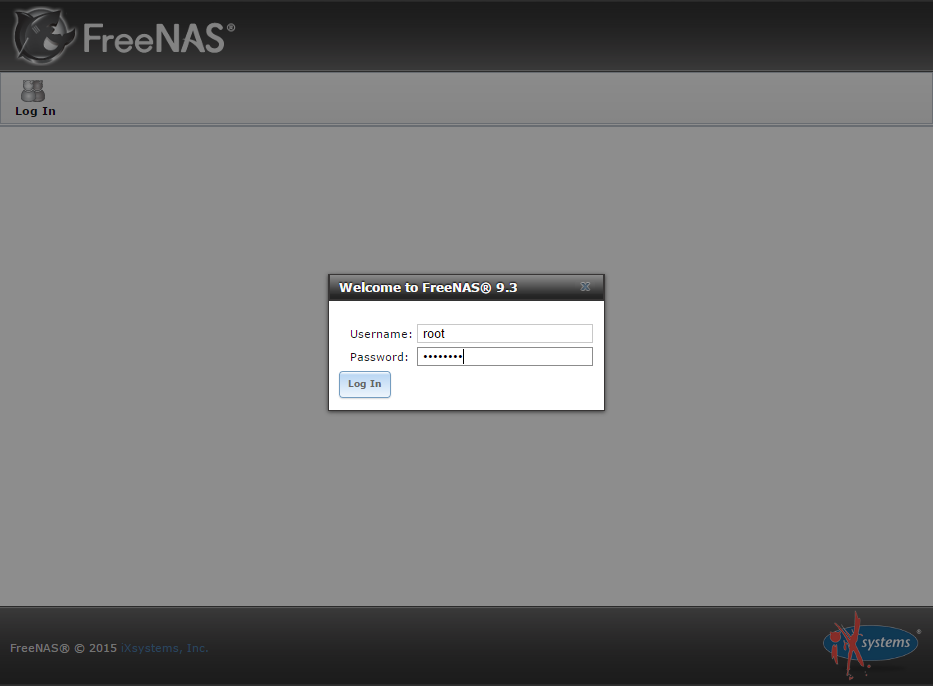
Now it’s time to discover the FreeNAS web interface. To access the web UI use the IP address of the machine, specify the root credentials:
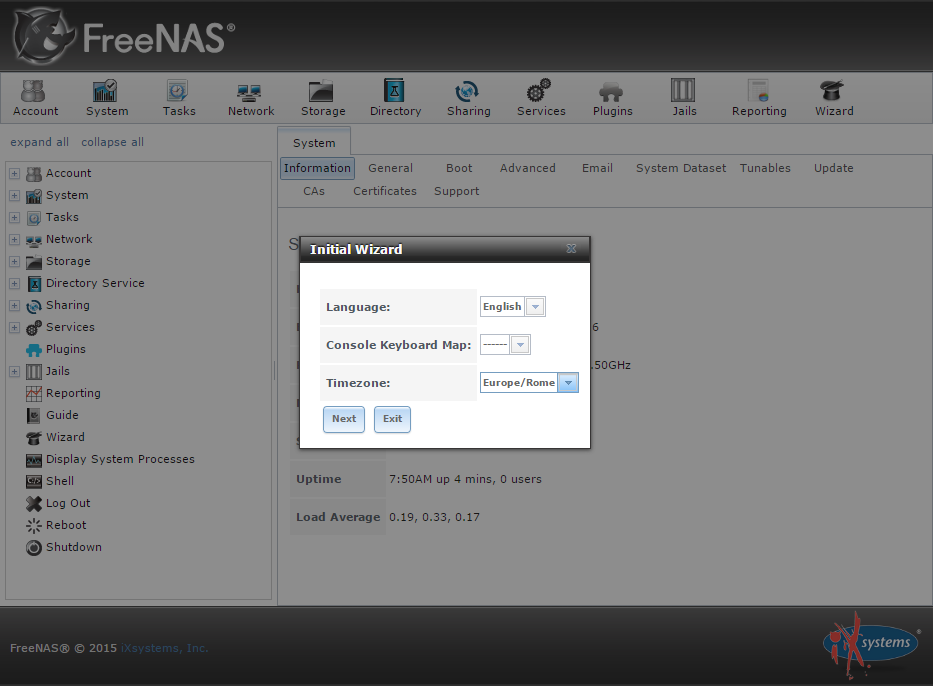
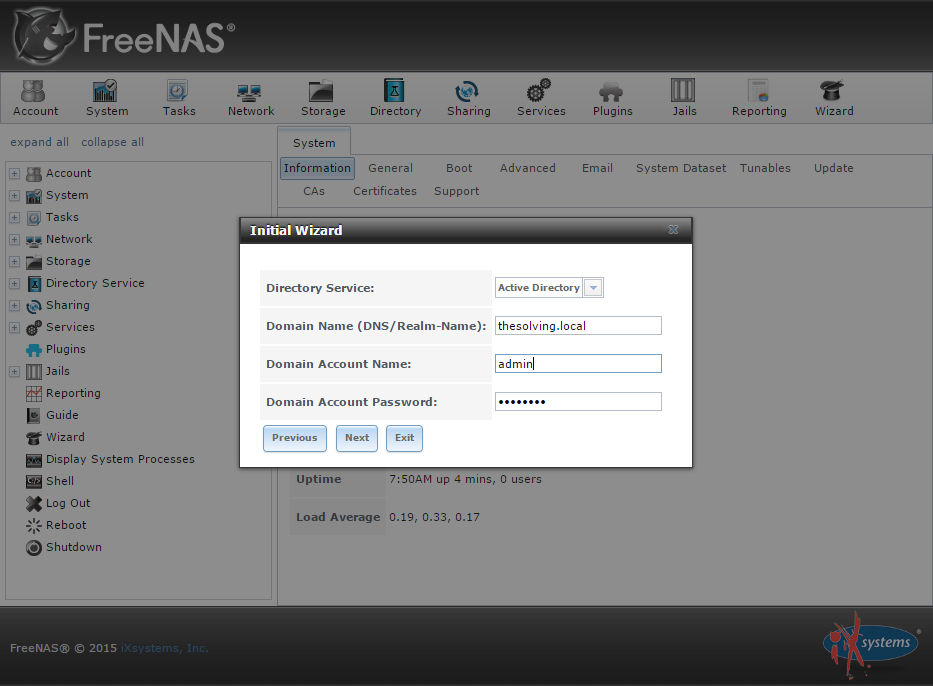
A quick wizard will start:
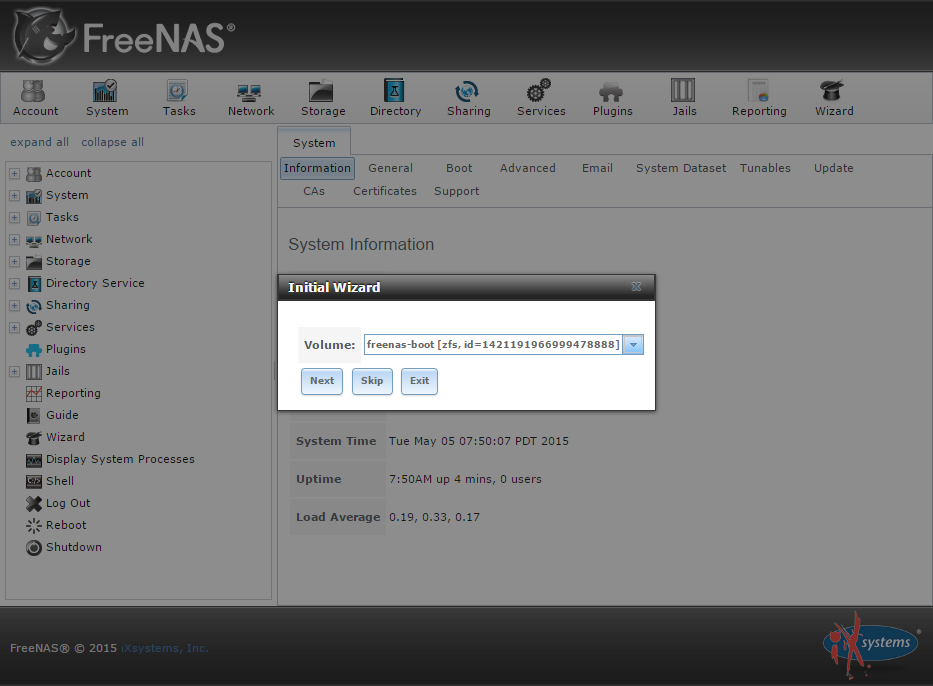
Select the default volume and go on:
Specify the credentials of a domain administrator:
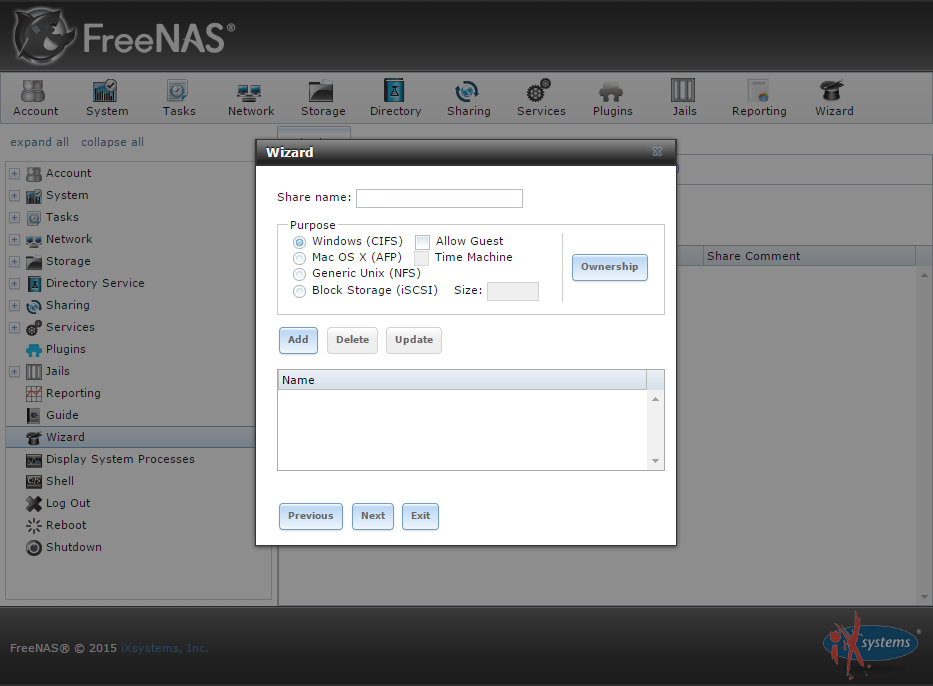
We’ll see how to create a CIFS (SMB) share in future posts, for now leave the fields empty:
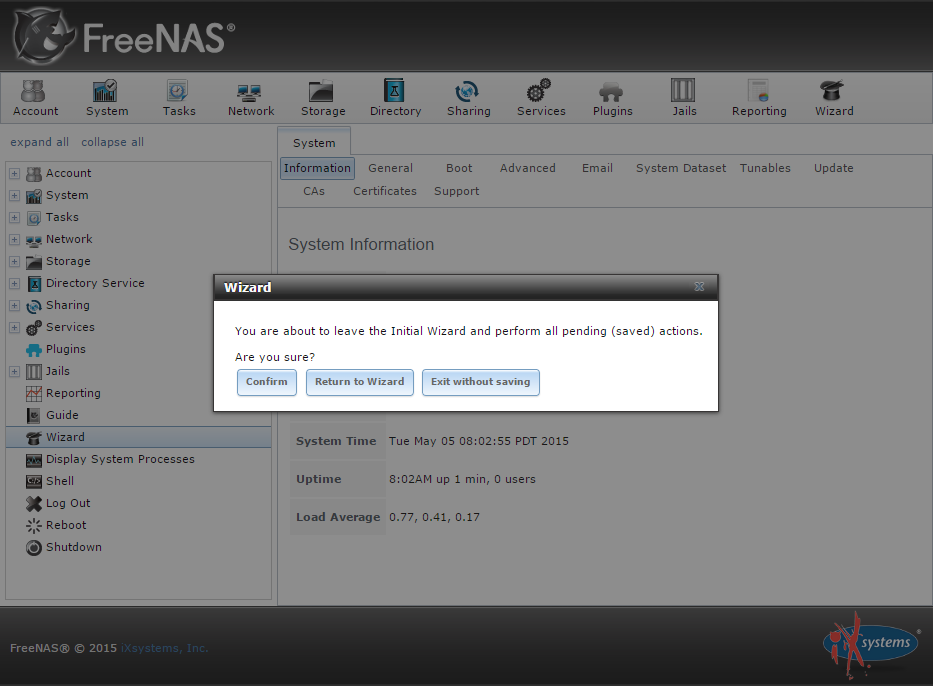
You can configure FreeNAS to send alerts and notifications to an email account. We skipped this step:

Confirm:
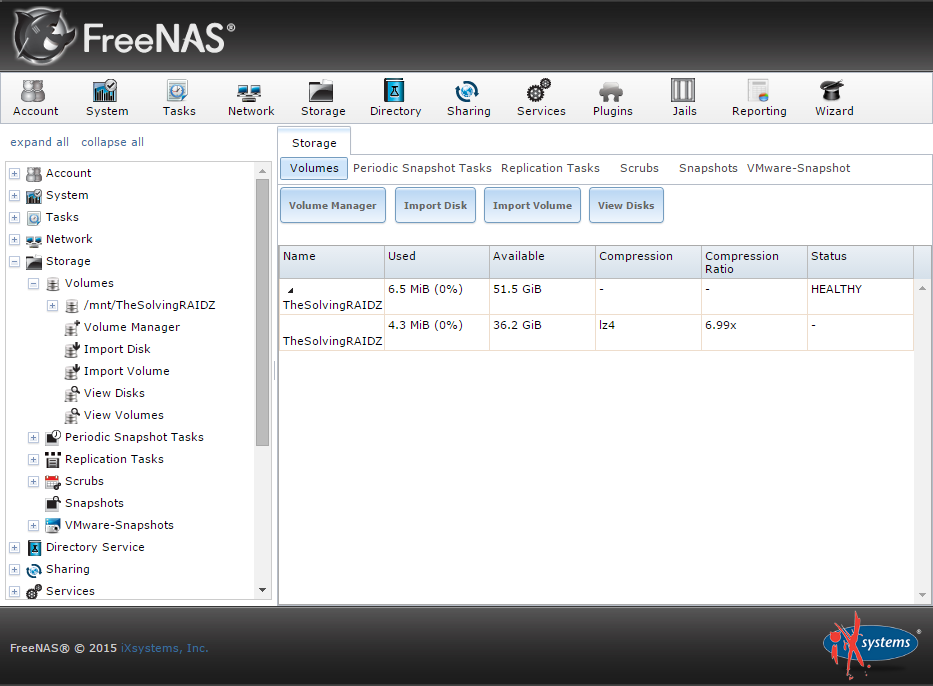
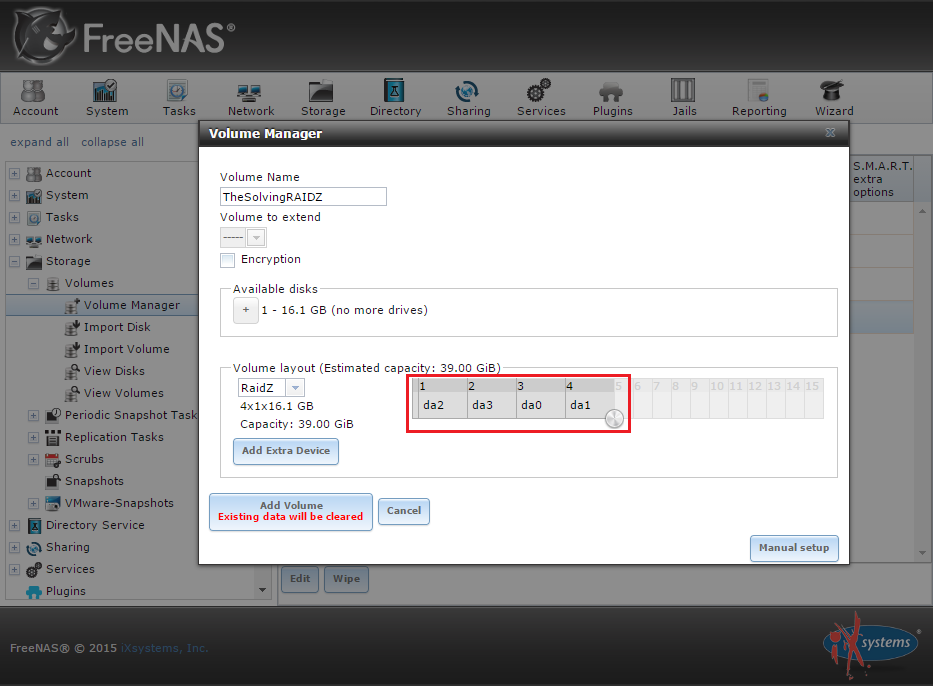
We need to create the volume where we will put the data. Go to the Storage section and click Volume Manager:
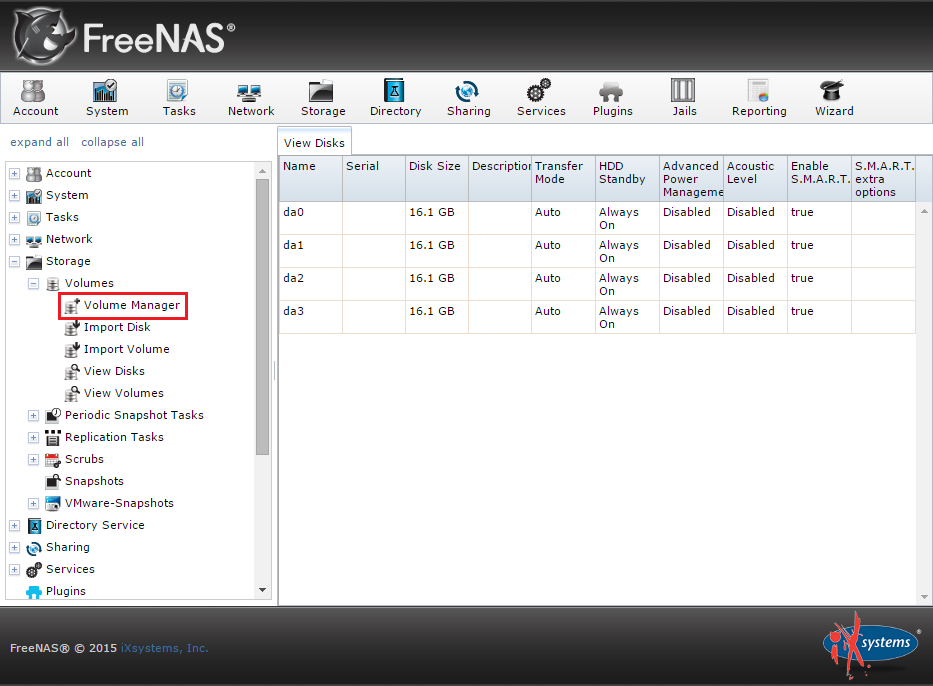
We have 4 disks available and a RaidZ setup is the best trade-off between security, storage capacity and performance (more information about RaidZ available here):
The volume creation will take a while:
Volume ready!