

Click Sharing, then select Windows (CIFS), before clicking Add Windows (CIFS) Share.

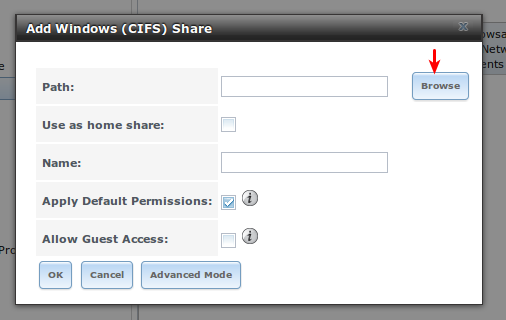
A popup dialogue box should appear. Click the browse button.
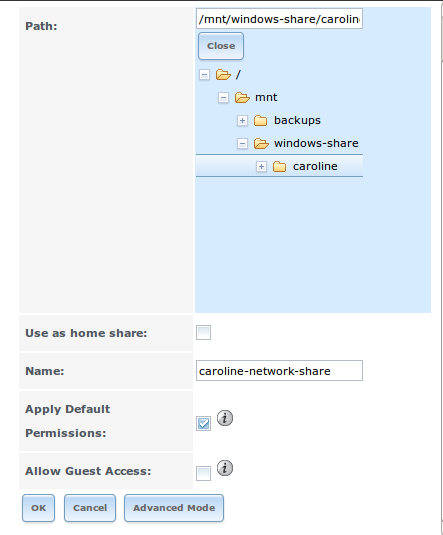
Select the dataset we just created that the user owns before clicking ok. Don't tick the Use as home share option. Then click OK.
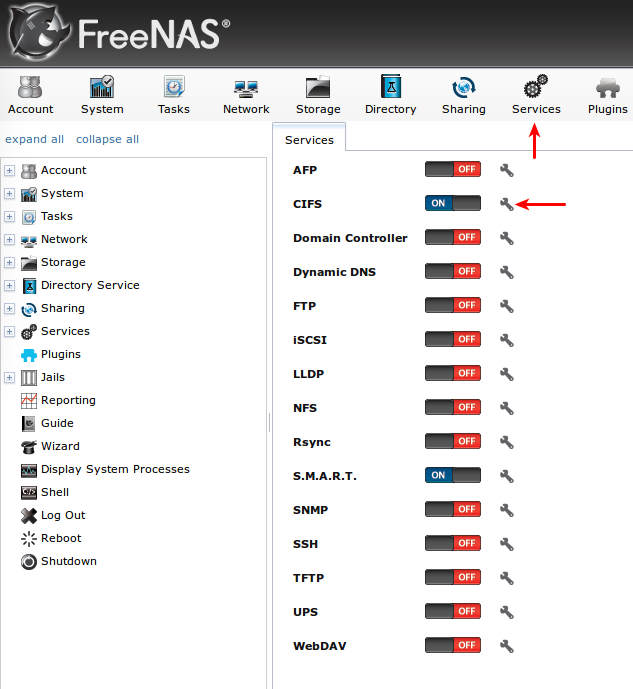
Click the Services icon from the top navigation bar. Then click on the wrench to edit the CIFS option.
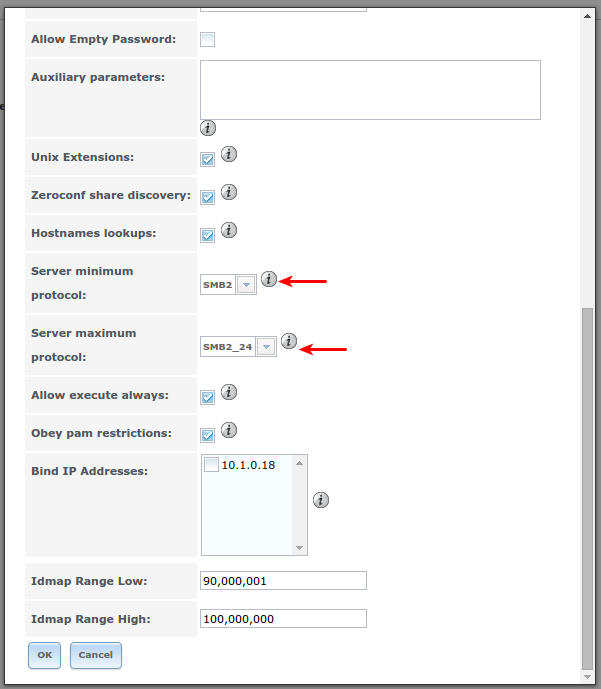
Change the Server minimum protocol to SMB2 and the Server maximum protocol to SMB2_24. This resolved an issue I had on Windows 7, although setting the maximum to SMB2 would also work I believe.
Click OK, and then ensure the switch for CIFS is set to ON.
Every time you make a change to CIFS, you need to turn the service off and on again for the changes to take effect.
Now click on our user from the Users in the left hand pane. A dialogue box should appear. Next to the Home Directory option, click the browse button and select our dataset before saving.

At this point you may or may not need to turn CIFS off and on again for the changes to take effect.
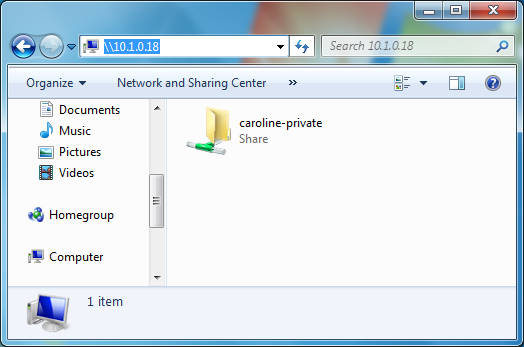
On a Windows machine, open your file browser and type \\ followed by the static IP of your FreeNAS box. You should see the share there.
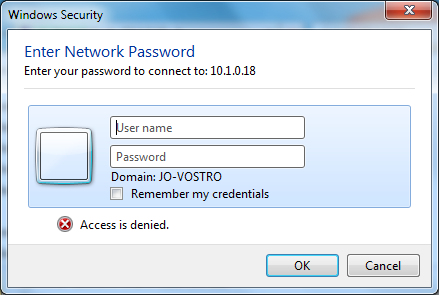
Double click on it and you will be prompted for authentication details. Enter the username and password of the user we configured.
You should now be able to view/edit/create files in your new windows share.


