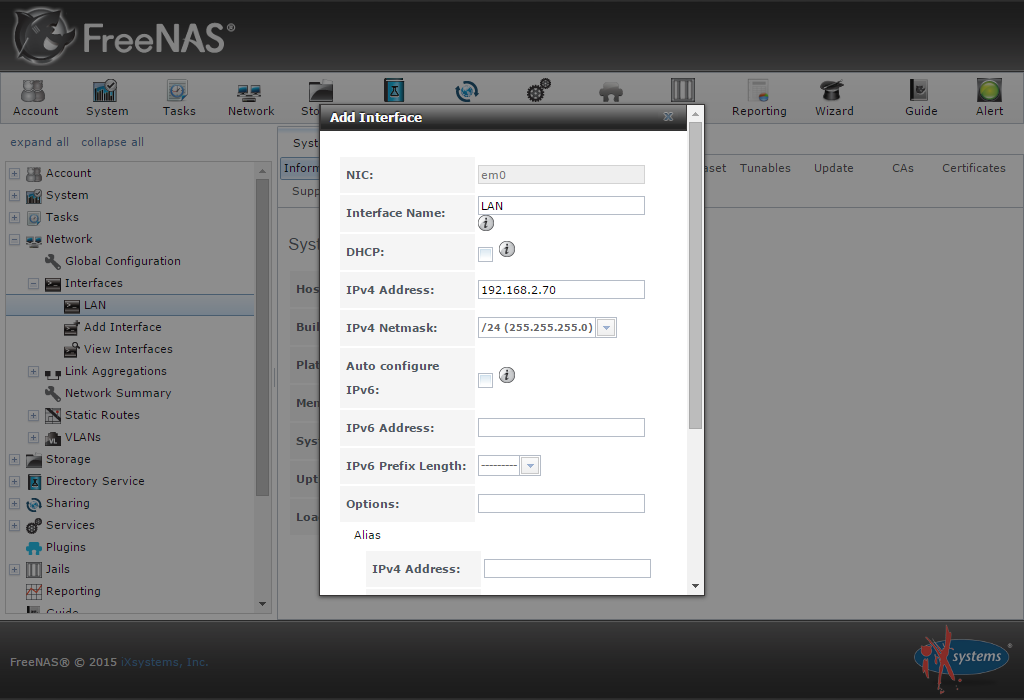
Step 1: create a network interface
Maybe you’ve already configured the network interface, anyway, it’s important to have at least an interface configured and connected in order to have a properly working Windows share.
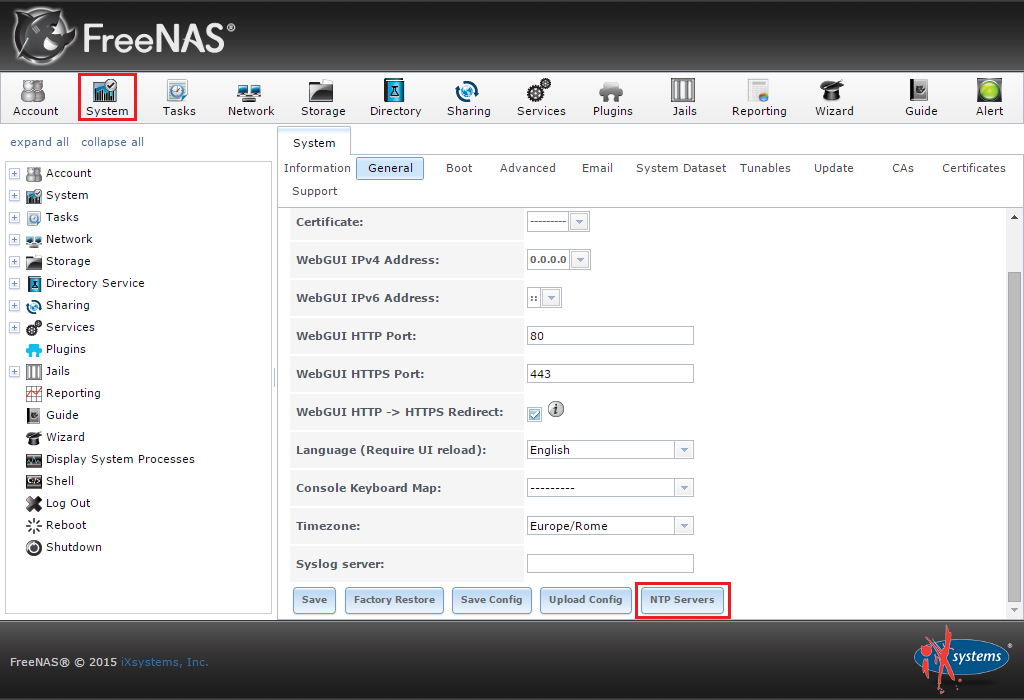
Step 2: configure the domain controller as the NTP server
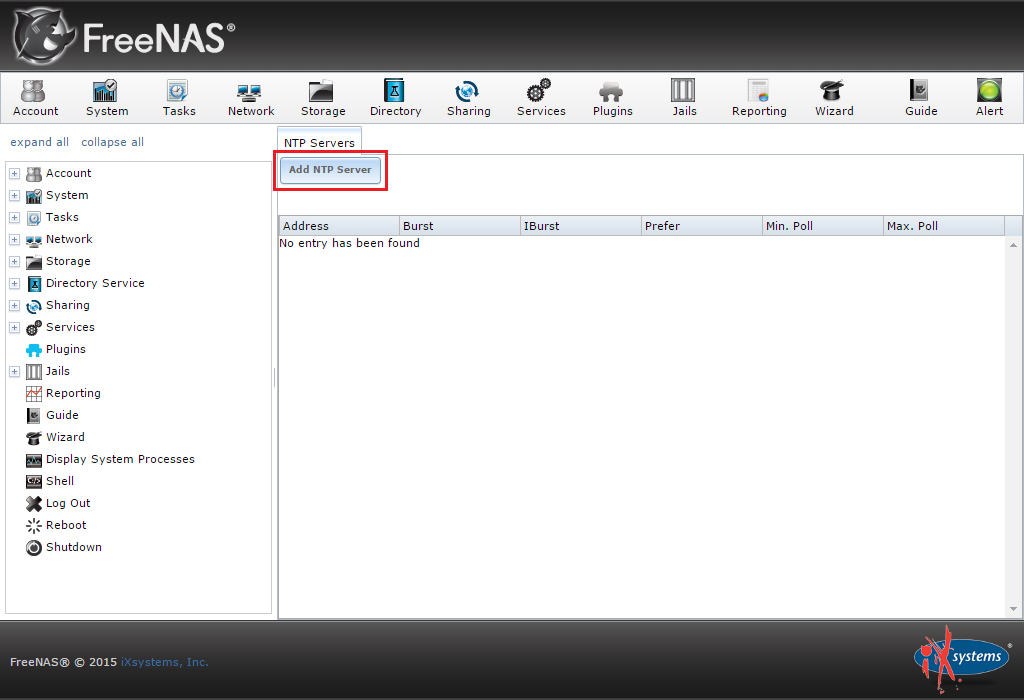
It’s important to have FreeNAS and the domain controller synchronized. NTP is an easy solution, go to the System menu and, under the General tab, click NTP Server:
Delete all the NTP servers and add a new one:
Specify the IP address of the domain controller:
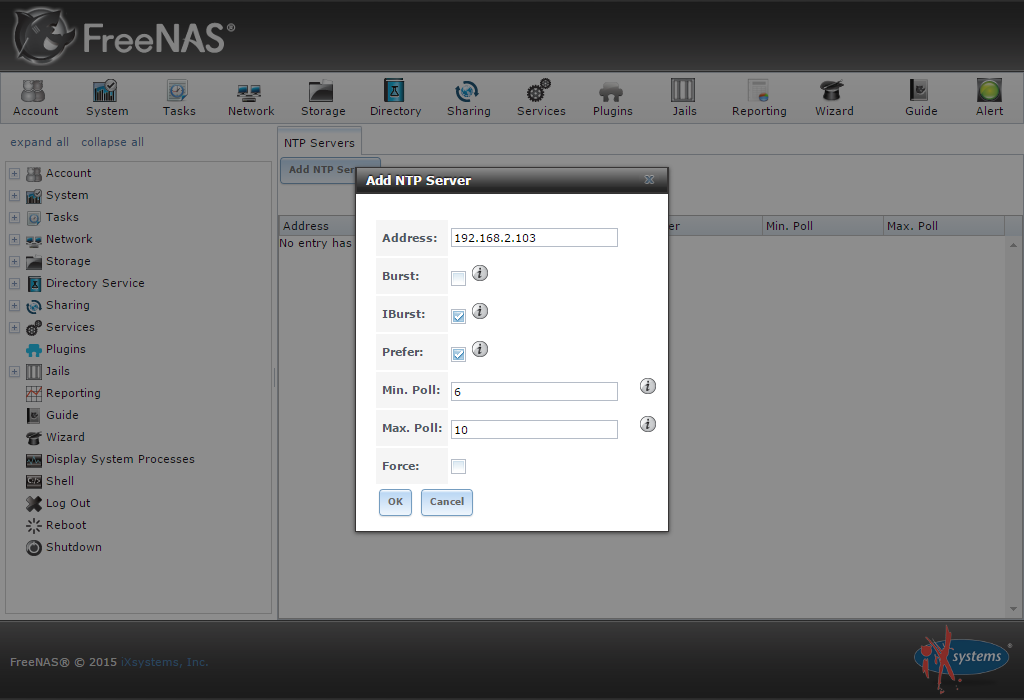
NTP configuration completed:

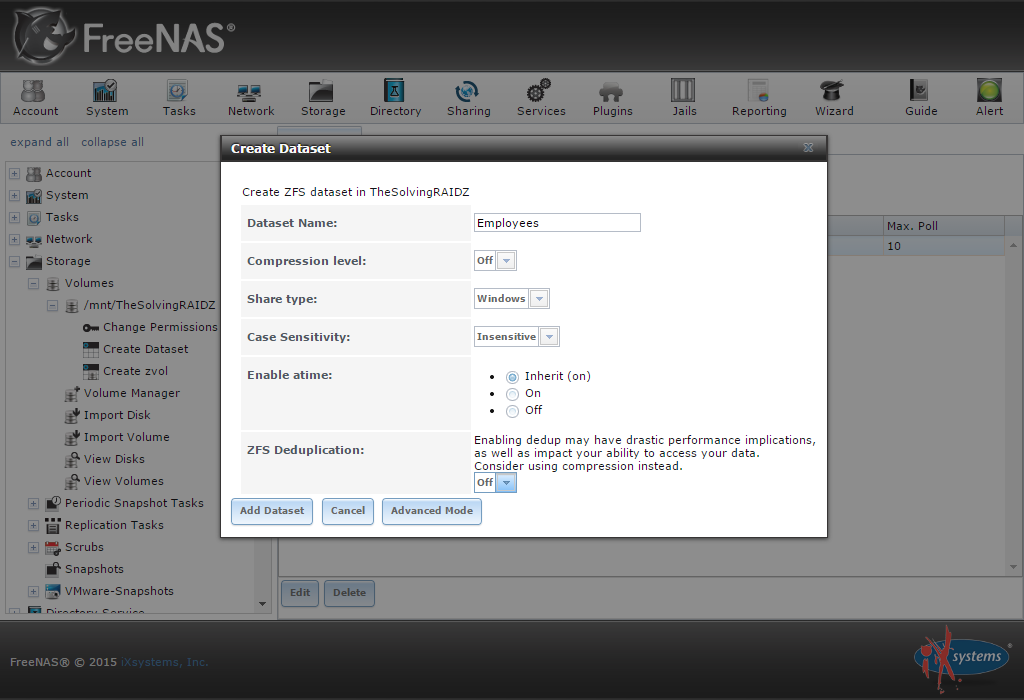
Step 3: create the dataset you want to share
Datasets are similar to folders and allow a granular configuration of the access permissions and quotas. Create a new dataset from the Storage menu like we did in the example:
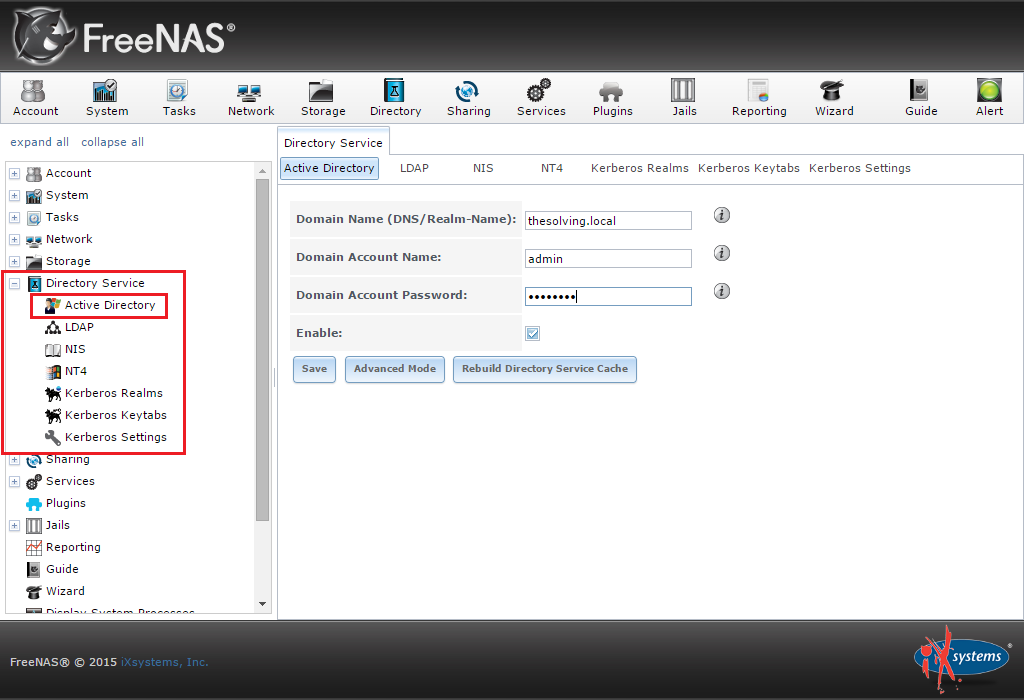
Step 4: Active Directoty connection
Under the Directory Service area you will be able to connect the NAS to your local Active Directory Domain Services. This operation will make FreeNAS able to access AD groups and users:
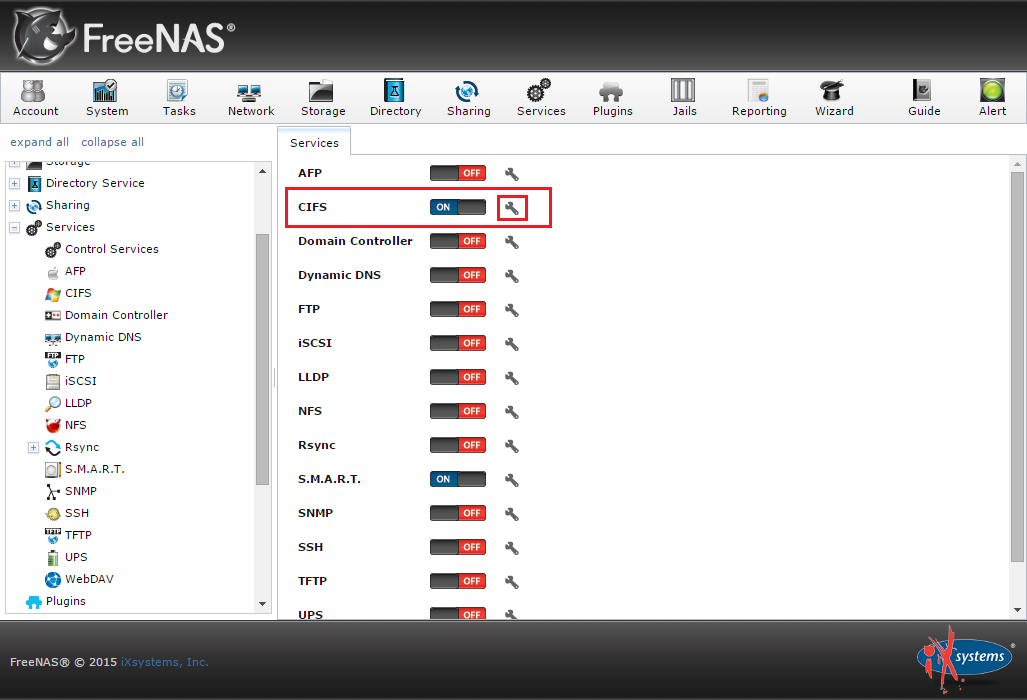
Step 5: enable and configure the CIFS service
Under the Services menu it’s possible to start the CIFS service. Click the configuration link:
Set SMB3 as the maximum server protocol:

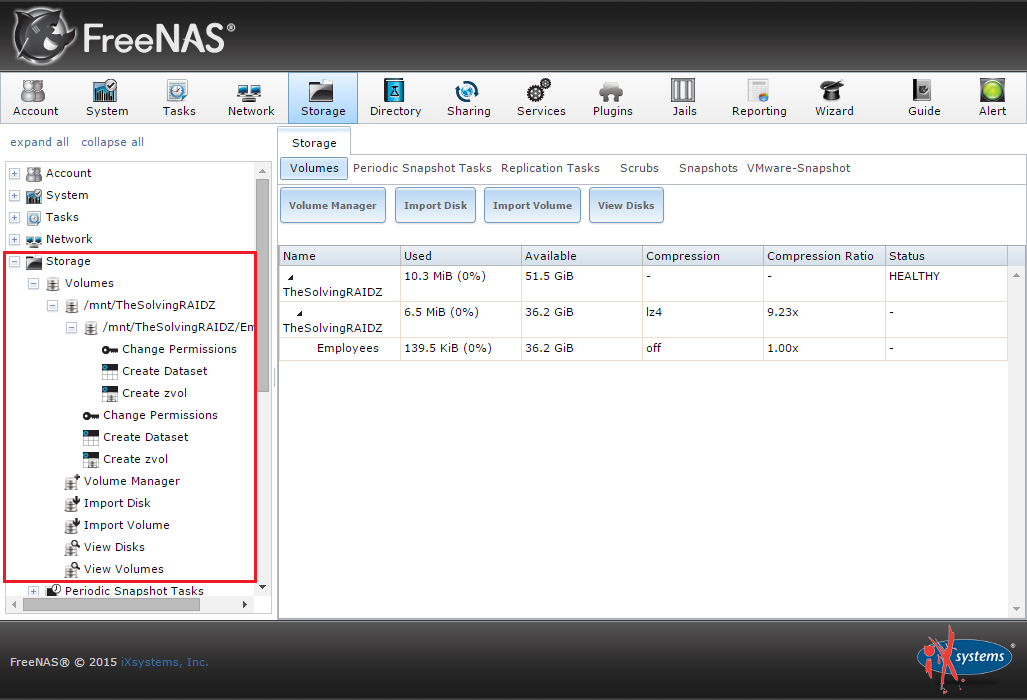
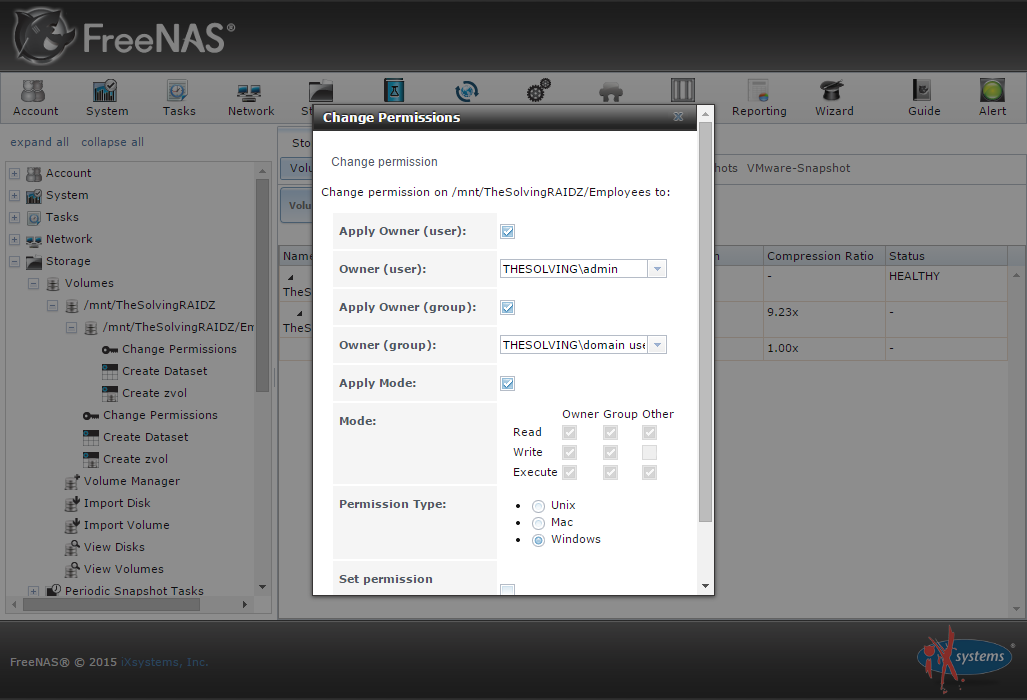
Step 6: configure dataset permissions
Open the Storage menu, select the dataset and click Change permissions:
Configure the owner user and group:
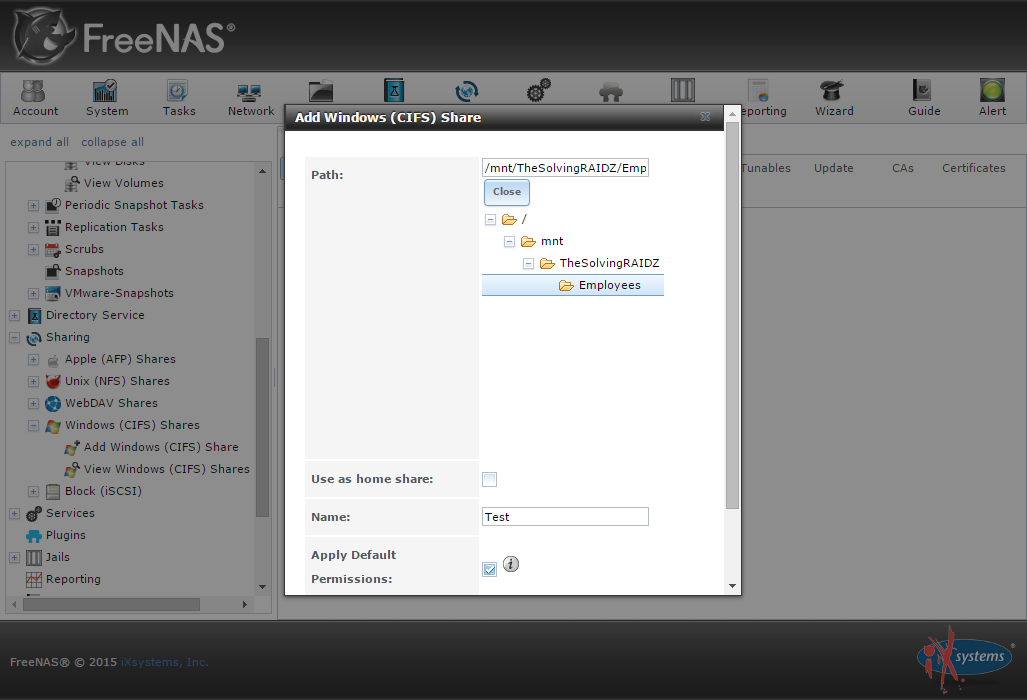
Step 7: add the CIFS share
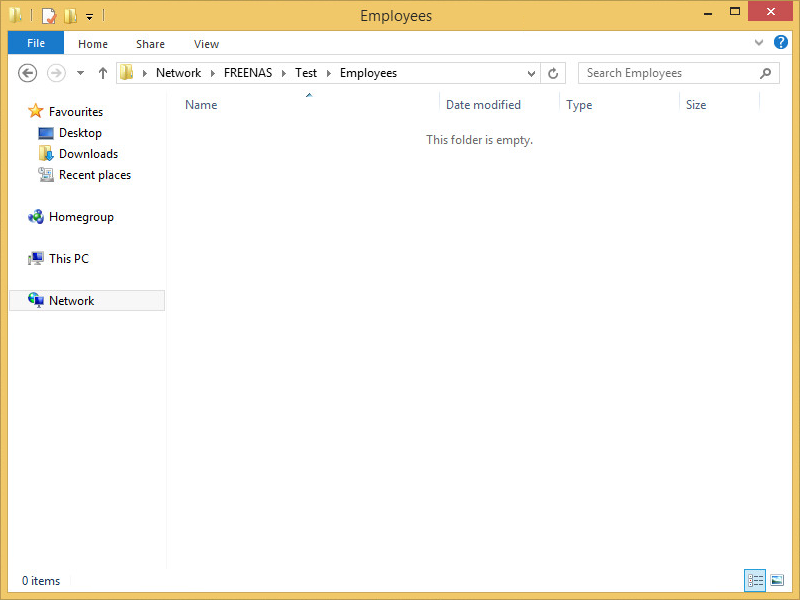
Select Add CIFS share under the Sharing menu. Specify the folder and name the share:
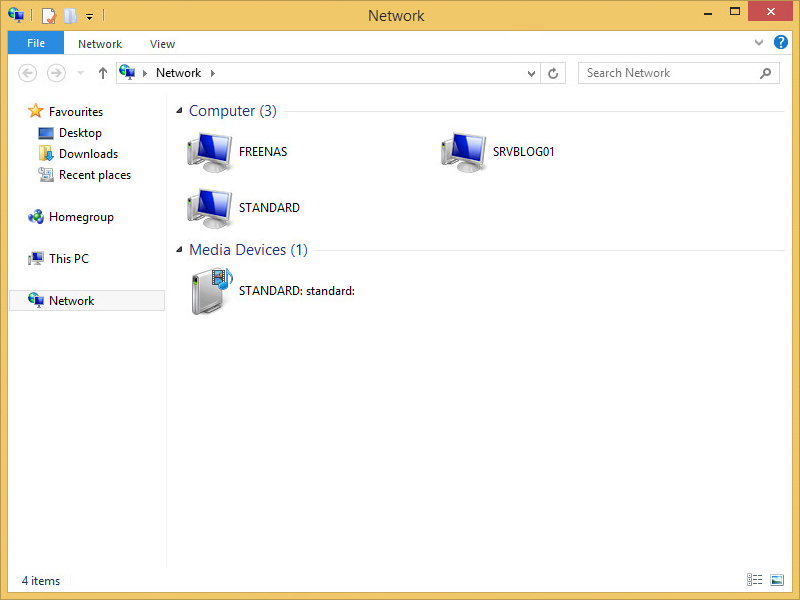
Configuration completed! Domain users will be now able to access and store data on the share: